Welcome to
CES - Hold-Fast Radiator Valves Limited
Sole UK manufacturers of replacement Tamper-Proof Safety Tops for all radiator valves...


|
Please ring or email to purchase our products. They may also be purchased from Amazon.co.uk |
UNIVERSAL THERMOSTATIC SAFETY TOPS
Fits all known thermostatic valves domestic and commercial.
Supplied in one form
- Part No. TRVPK1 This is supplied in quantities from 1, the minimum order, to as many as required.
TRVPK1
This form has all of the components to service one valve packaged together.
- i.e. If you order a TRVPK1's you will get pre bagged parts
- each bag will contain
- 1 - Thermostatic Sensor Head,
- 1 - Adaptor and short grub screws as an assembly,
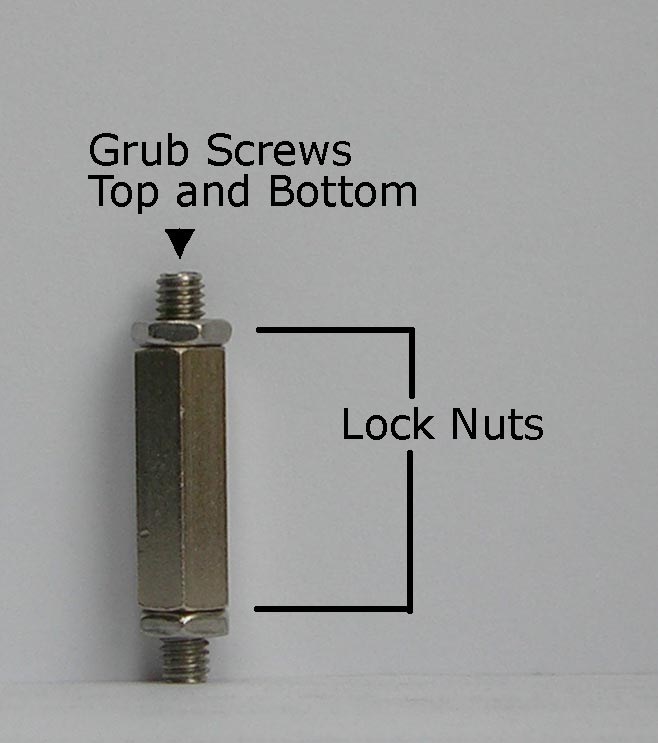
- 1 - Piston, grub screws and Lock nuts as an assembly,
- 3 - long grubscrews,
- 1 - Allen key.
- 1 - Instruction card
Each bag is printed with fitting instructions.
General fitting
The Hold-Fast Universal replacment thermostatic top fits valve types 1 to a maximum 30mm thread diameter, and all types 2 and 3.
|
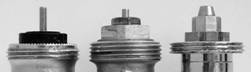
Various Type 1's |
Type 2 |
Type 3 |
|

|

|
What to to use for each valve type
TYPES 1: Use the Hold-Fast Adaptor with short grub screws (already fitted)
TYPE 2: Use the Hold-Fast Adaptor but change short grub screws for long grub screws
TYPE 3: Fit thermostatic head directly onto the valve, do not use other parts
|
|
|
|
|
Adaptor |
Piston |
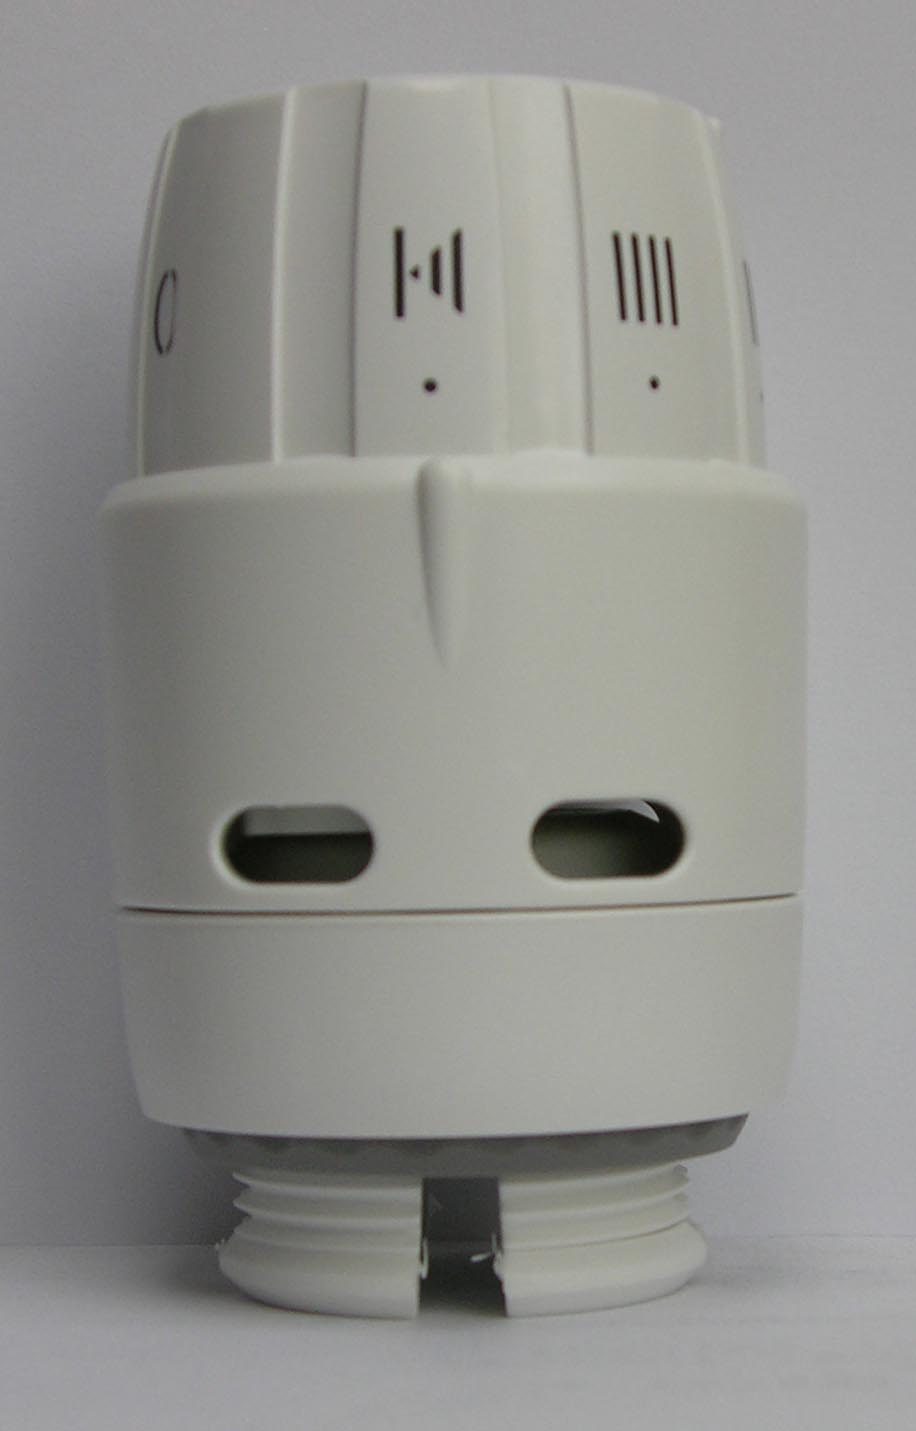
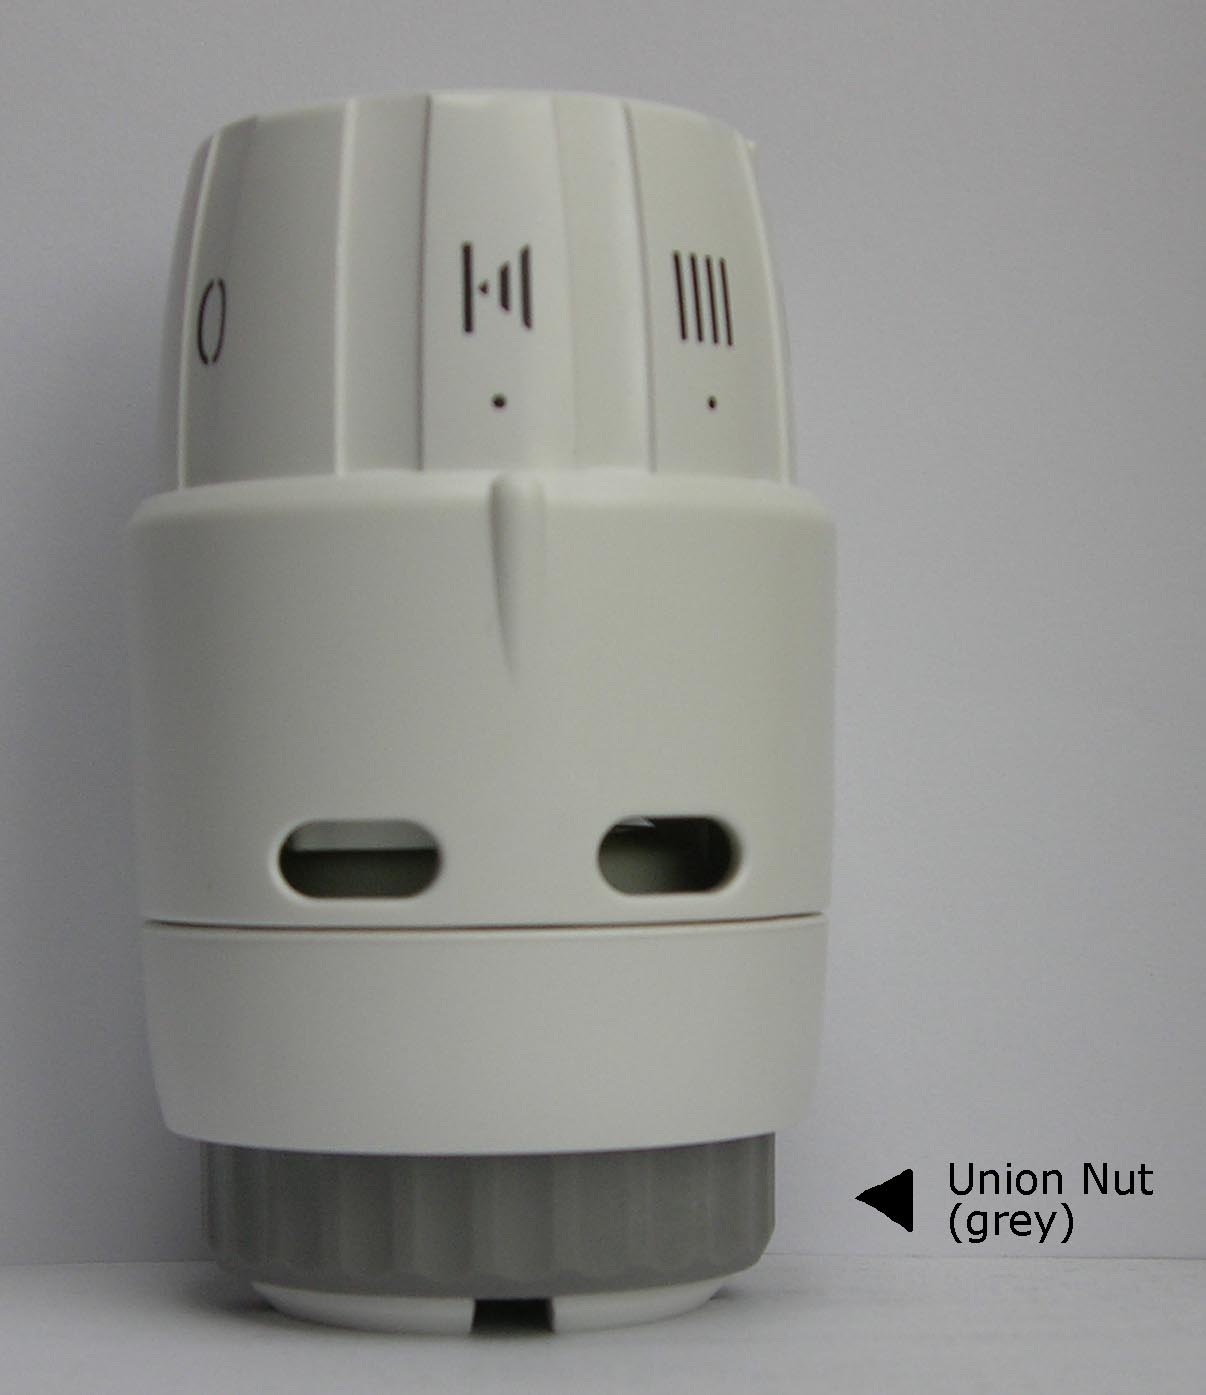
Sensor setting with union nut fully up |
Thermostatic Sensor head fitted to adapator |
Fitting instructions
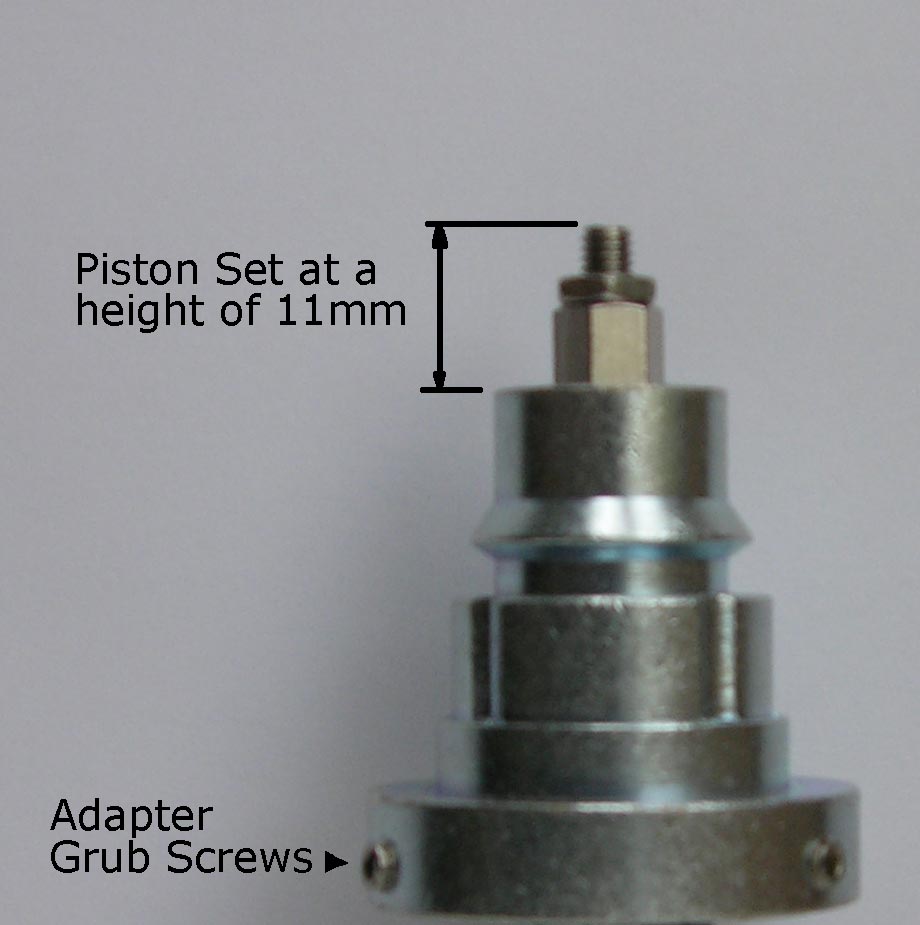
Fit the Hold-Fast Adaptor to top of valve body. Make sure the Adaptor is sitting centre and flush to the valve body before tightening the grub screws with the Allen key. Insert piston into the Adaptor and adjust the two piston grub screws top and bottom equally.
IMPORTANT: Set the piston to the height of 11mm above Adaptor top. Use black template on card if required. When height is set tighten lock nuts. Test valve by pushing piston down firmly with coin. If the valve is in good working order, the piston will return to the same height.
To fit head, set sensor as shown in Sensor Setting. Make sure the grey union nut is rotated loosely up towards the sensor body until it is just showing below the lower part of the sensor head. Push the sensor head firmly onto the adaptor and rotate into position. While holding the sensor head firmly on the valve, secure connection by turning grey union nut clockwise by hand. Still holding the sensor head on the valve fully tighten grey union nut using parrot nose pliers. Set at desired room temperature. To remove sensor head turn union nut anti-clockwise to release locking mechanism.
Should you encounter any problems please don't hesitate to contact us.